
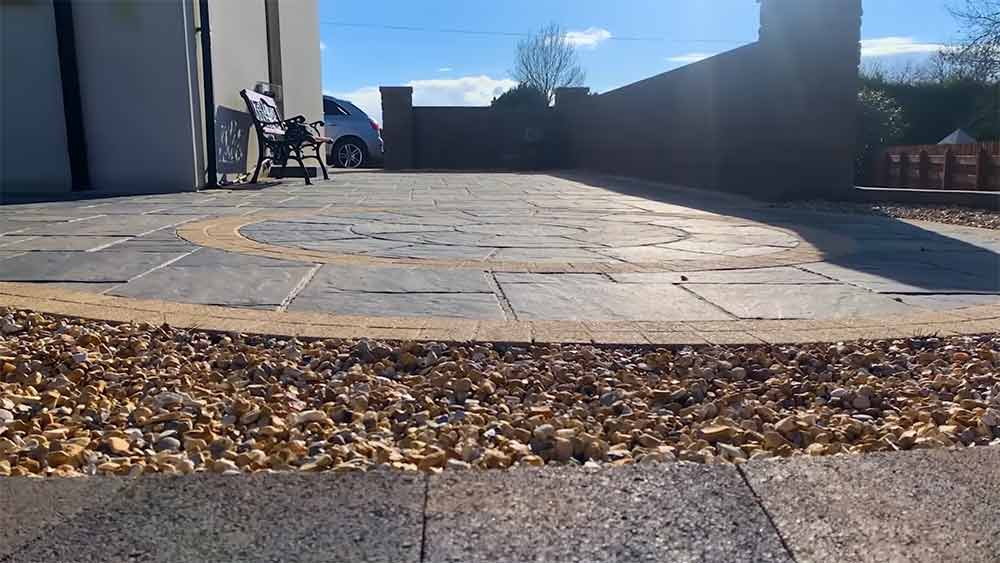
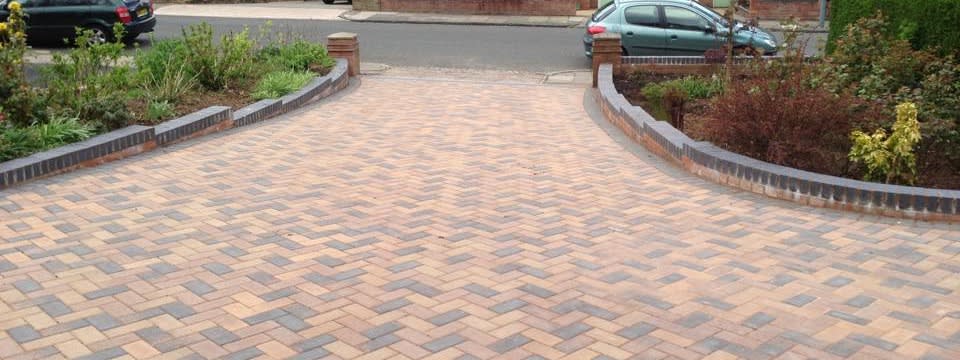
When it comes to enhancing the curb appeal and functionality of your outdoor space, choosing the right paving option is essential. One option that continues to gain popularity is block paving. But what makes block paving such a fantastic choice for driveways and patios? Is it the durability? The versatility? Or perhaps the endless design possibilities?
Block paving offers a multitude of benefits that make it stand out from other paving options. Its interlocking nature provides excellent strength and stability, making it ideal for areas with heavy foot traffic or vehicles. But that’s not all! Block paving also boasts a wide range of block paving patterns and designs, allowing you to create a unique and eye-catching finish for your driveway or patio.
But what about maintenance? Does block paving require a lot of upkeep? The good news is that block paving maintenance is minimal. With regular sweeping and occasional topping up of jointing sand, block paving can remain in excellent condition for years to come.
So, if you’re considering a new driveway or patio, it’s time to explore the world of block paving. Discover the endless possibilities and create a stunning and long-lasting outdoor space with the help of Block Paving Mansfield. As experts in block paving services, they can guide you through the installation process and ensure that your project is a success.
Planning and Preparation
Before you begin the installation of block paving, it’s important to plan and prepare the area. This stage is crucial for ensuring a successful and hassle-free paving project. In this section, we will guide you through the essential steps of planning and preparing for your block paving installation.
Measuring and Marking
The first step in preparing your area is to accurately measure and mark out the space where you want to install the block paving. Use a measuring tape or laser level to determine the dimensions of the area. Mark the boundaries clearly using stakes or string to create a visual guide.
Identifying Underground Services
Before you start excavating, it’s important to identify any underground services such as gas, water, or electricity lines. Contact your local utility companies to mark the location of these services. This will help prevent accidental damage during the excavation process.
Excavating the Site
Once you’ve marked the area and identified any underground services, it’s time to excavate the site to the appropriate depth. The depth will depend on the specific requirements of your block paving project. Use a mini excavator or shovel to remove the topsoil and any existing surface materials.
Preparing the Sub-base
After excavation, it’s important to prepare a stable sub-base for your block paving. This typically involves filling the excavated area with a layer of compacted hardcore aggregate. The sub-base should be accurately graded to ensure proper drainage and prevent any future settling or movement of the paving stones.
Gathering Materials and Equipment
Before starting the installation, make sure you have all the necessary materials and equipment on hand. This may include block paving stones, laying course sand, jointing sand, a plate compactor, a screeding board, and other tools specific to your project. Ensuring that everything is readily available will streamline the installation process.
By taking the time to plan and prepare effectively, you’ll set the foundation for a successful block paving project. Proper planning will help you avoid costly mistakes and ensure a smooth installation process. Now that you’ve completed the planning and preparation stage, you’re ready to move on to the next step: base and sub-base preparation.
Base and Sub-base Preparation
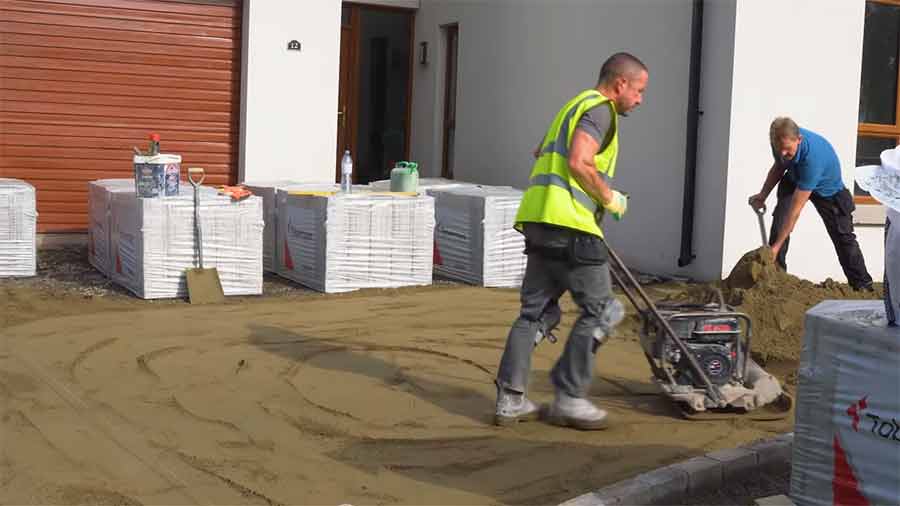
A solid and well-prepared base is crucial for the long-term durability and stability of your block paving. To achieve this, it is important to focus on the correct preparation of the base and sub-base layers. By following these steps, you can ensure that your block paving remains structurally sound and resistant to shifting.
1. Excavation: The first step in base preparation is excavation. Clear the area of any existing paving, vegetation, or debris. Dig down to the required depth, accounting for the thickness of the sub-base and the block paving itself.
2. Assess the Ground: Next, assess the ground to ensure it is suitable for paving. Identify any areas with poor drainage or unstable soil, as these may require additional measures to ensure stability.
3. Sub-base Layer: Create a sub-base layer using compacted hardcore aggregate. This material provides a strong and stable foundation for the block paving. It is important to ensure that the sub-base layer is accurately graded to match the planned profile of the finished paving.
4. Compaction: Proper compaction of the sub-base is crucial to prevent settling and unevenness in the completed surface. Use a compactor to achieve a solid and uniform base.
5. Edge Restraints: Install edge restraints along the perimeter of the area to prevent the block paving from spreading or shifting over time. These can be made of concrete, steel, or plastic and should be securely anchored into the ground.
6. Geotextile Membrane: In areas with poor soil conditions or where additional stability is required, consider using a geotextile membrane. This fabric helps to stabilise the sub-base, prevent weeds and vegetation growth, and improve overall drainage.
7. Checking the Levels: Before proceeding with the installation of the block paving, it is crucial to carefully check the levels of the prepared base. Use a spirit level and string lines to ensure that the surface is level and properly graded.
8. Final Compaction: Once the base and sub-base layers are prepared, make a final pass with the compactor to ensure everything is properly compacted and stable. This will provide a solid foundation for the block paving installation.
By following these steps for base and sub-base preparation, you can create a solid and stable foundation for your block paving. This will ensure the long-term durability and stability of your paved surface, allowing you to enjoy your beautifully designed driveway, patio, or garden path for years to come.
Laying and Finishing
Now that you have prepared the base and sub-base, it’s time to move on to the exciting part of the block paving installation process – laying the blocks and giving your outdoor space a stunning finish. This stage requires precision and attention to detail to ensure a professional-looking result.
Laying the Blocks
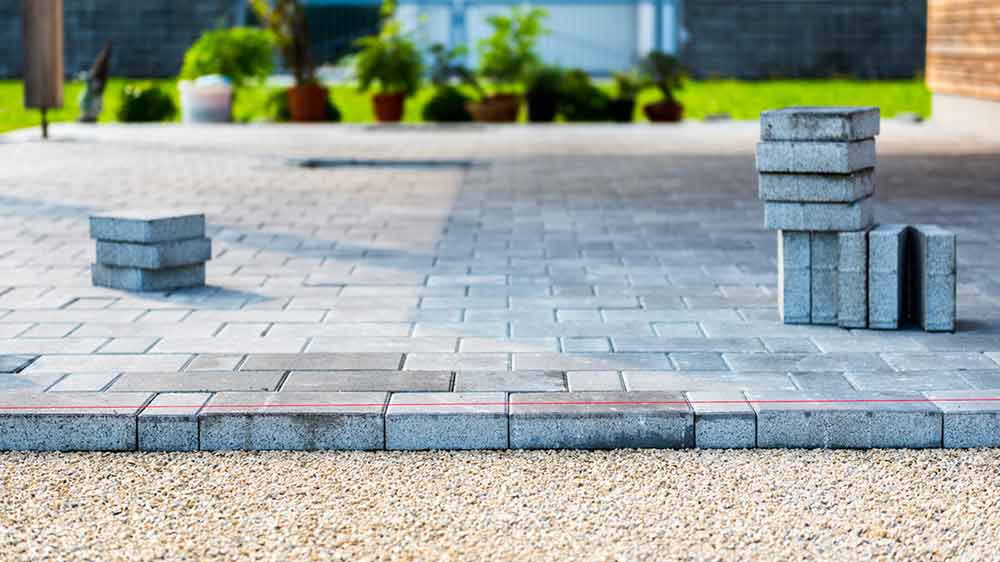
Before starting the block paving installation, spread a layer of laying course sand evenly over the prepared sub-base. Use a rake to distribute the sand and then screed it to achieve the correct level. This ensures a solid and level surface for laying the blocks.
Next, it’s time to lay the blocks in your desired pattern. Whether you prefer a traditional herringbone pattern or a more intricate design, carefully place each block, ensuring proper alignment and compliance. Regularly use a spirit level to check that the blocks are straight and level, making adjustments as necessary to maintain a uniform appearance.
Applying Jointing Sand and Compacting
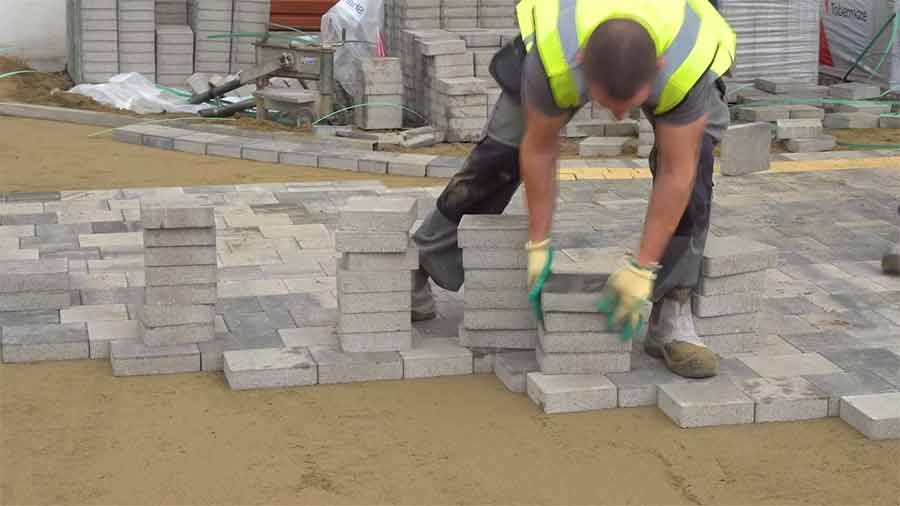
Once all the blocks are laid, the next step is to fill the gaps between them with jointing sand. Use a brush to evenly distribute the sand, ensuring it fills the joints completely. This helps to stabilise the blocks and prevent shifting over time.
After applying the jointing sand, it’s important to compact the blocks and the joints. A plate compactor is the ideal tool for this job.
Run the compactor over the entire paved area, making sure to cover every inch. This process helps to create a stable and cohesive block paved surface.
Finishing Touches
Finally, the last step is to sweep away any excess jointing sand from the surface of your newly laid block paving. Use a stiff broom to remove the sand, taking care not to disturb the blocks. This will leave you with a clean and polished finish.
Your block paving installation is now complete! Take a step back and admire the beautiful transformation of your driveway, patio, or outdoor space. With proper maintenance, your block paving will last for years, adding both style and functionality to your home.
| Key Points: |
|---|
| Spread a layer of laying course sand and screed it to the correct level before laying the blocks |
| Pay attention to alignment and compliance while laying the blocks |
| Fill the gaps between the blocks with jointing sand and compact using a plate compactor |
| Sweep away excess jointing sand for a clean and polished finish |
Conclusion
Transform the look of your outdoor spaces with DIY block paving installation. By following a step-by-step guide and carefully preparing the area, you can achieve professional results and enjoy a durable and visually appealing block paved surface. Regular maintenance, including topping up jointing sand and applying a sealant, will help keep your block paving in excellent condition for years to come.
Whether you’re creating a stunning driveway, a beautiful patio, or a charming garden path, block paving offers versatility and style. Its wide range of colours, textures, and block paving patterns allows for endless design possibilities. Enhance the beauty and functionality of your outdoor areas with this popular paving option.
For expert block paving services in Mansfield, turn to Block Paving Mansfield. With their expertise in landscape design and installation, they can help you create the perfect block-paved surface to complement your home’s exterior.
Contact us today on 07595 510190 to receive a free quote for your Dropped Kerb, Tarmac, Resin, Concrete or Block driveway project or visit our website.
Source Links
- https://www.marshalls.co.uk/gardens-and
-driveways/blog/how-to-lay-block-paving - https://www.pavingexpert.com/bpvseq01
- https://www.thepavingexperts.co.uk/how
-to-lay-block-paving-a-complete-guide/
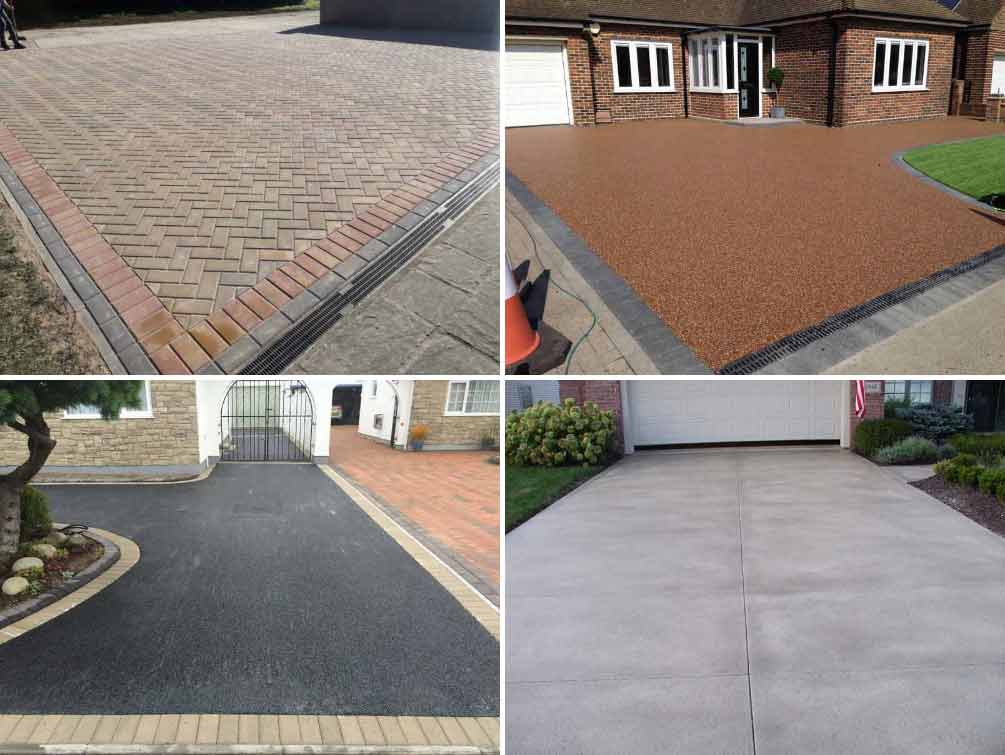
Block paving is a popular choice for driveways due to its versatility and visual appeal. Compared to other materials like Read more
Block paving has become a popular choice for homeowners looking to enhance the aesthetics and functionality of their outdoor spaces. Read more
When considering the task of laying block paving, individuals may question their capability to undertake this endeavour independently. This article Read more